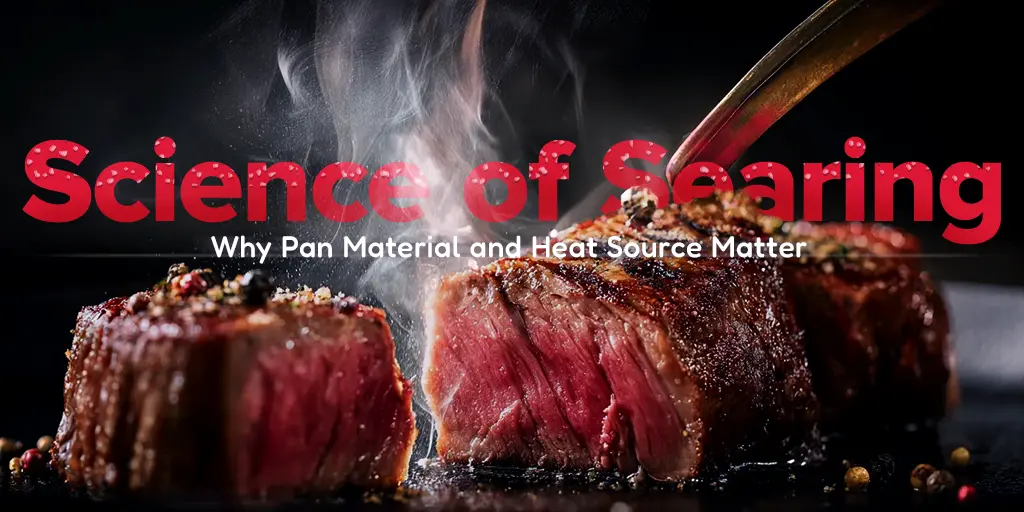
The Science of Searing: Why Pan Material and Heat Source Matter
Searing is one of the simplest techniques in cooking—and one of the most misunderstood. A well-executed sear locks in flavor, builds texture, and creates that irresistible golden crust chefs chase every service. Whether you’re cooking in a high-volume kitchen or at a catering station, understanding how to sear meat correctly (and with the right pan) separates restaurant-quality results from mediocre ones.
In this guide, we’ll explore how to sear steak, how long to do it, which materials deliver the best heat, and why choosing the best pan for searing matters more than you think.
🔥 The Science Behind a Perfect Sear
At its core, searing is about controlling heat and moisture to trigger the Maillard reaction—a chemical process that browns proteins and sugars, creating deep, complex flavors.
When meat hits a properly heated pan, surface moisture evaporates instantly, allowing caramelization to begin. Too little heat and the meat steams; too much and the crust burns before the inside cooks.
That’s why professional chefs care so deeply about pan material and heat source. Different metals conduct and retain heat differently, directly affecting how fast and evenly the surface browns.
🥩 How to Sear Meat: The Basics
Before you think about equipment, you need to nail the fundamentals of how to sear meat.
- Start Dry: Pat meat thoroughly with paper towels. Excess moisture prevents browning.
- Preheat Properly: Heat your pan until it’s nearly smoking—this is the key to fast crust formation.
- Use the Right Oil: High-smoke-point oils like grapeseed, canola, or clarified butter are ideal.
- Don’t Crowd the Pan: Overcrowding traps steam and softens the crust.
- Let It Rest: After searing, rest meat for a few minutes so juices redistribute evenly.
For thicker cuts (like ribeye or filet), finish cooking in the oven after searing. For thinner cuts or sliced proteins, the stovetop alone is enough.
🍳 Choosing the Best Pan for Searing
Every chef has a favorite pan—but not all pans are created equal. Let’s break down the three most common materials used in professional kitchens for searing: cast iron, stainless steel, and aluminum.
1. Cast Iron: The Classic for Deep, Even Heat
When it comes to searing steak in cast iron, it’s hard to beat the results. Cast iron’s superior heat retention means once it’s hot, it stays hot—even when you drop a cold steak onto the surface.
Pros:
- Excellent heat retention and even browning.
- Perfect for thick cuts or proteins that need to finish in the oven.
- Naturally nonstick when properly seasoned.
Cons:
- Takes longer to preheat.
- Heavier and slower to cool down (requires attention to avoid overcooking).
Pro Tip: For the best results, preheat your cast iron pan over medium-high heat for at least 5 minutes. Add oil just before adding the steak.
2. Stainless Steel: Precision and Professional Control
Stainless steel vs. cast iron pan is one of the most common chef debates. Stainless pans excel at responsiveness—they heat up and cool down quickly, giving you more control over delicate proteins like fish or pork medallions.
Pros:
- Quick heat response for precise temperature control.
- Ideal for deglazing and pan sauces after searing.
- Lighter and easier to handle in busy kitchens.
Cons:
- Less heat retention than cast iron.
- Requires proper preheating and oiling to prevent sticking.
Best Use: When you need to pan sear a steak for service and immediately deglaze with wine or stock to make a sauce, stainless steel shines.
3. Aluminum: The Workhorse for High Volume
While aluminum doesn’t retain heat as well as cast iron, its superior conductivity makes it great for high-throughput cooking. Many commercial fry pans are aluminum because they heat quickly and distribute heat evenly across large surfaces.
Pros:
- Lightweight and efficient for fast production.
- Excellent for chicken, pork chops, or vegetables.
- Affordable and ideal for multi-pan operations.
Cons:
- Not ideal for high-temperature searing of thick steaks.
- May warp over time under extreme heat.
Best Use: Quick, moderate-temperature searing and sautéing in fast-casual kitchens.
🔬 Understanding Heat Sources: Gas, Electric, and Induction
The heat source beneath the pan also determines how effectively you can achieve a sear.
Gas:
Provides instant control and visual feedback. Perfect for rapid adjustments.
Electric:
Takes longer to respond, but consistent once stabilized—good for batch searing.
Induction:
The new industry favorite. Heats pans directly using magnetic fields, resulting in faster preheating and greater energy efficiency.
Pro Tip: Use induction-compatible pans (stainless steel or enameled cast iron). Raw aluminum won’t work unless it has a stainless-steel base.
🕒 How Long to Sear Meat or Steak
Timing depends on cut thickness and your pan’s material.
| Cut Type | Searing Time (per side) | Finish Method |
|---|---|---|
| Thin steak (1") | 2–3 minutes | Serve immediately |
| Thick steak (1.5–2") | 2–3 minutes | Transfer to oven at 400°F for 5–7 minutes |
| Chicken breast | 3–4 minutes | Finish in oven until internal temperature reaches 165°F |
| Pork chop | 2–3 minutes | Finish in oven until internal temperature reaches 145°F |
| Ground beef patty | 2 minutes | Flip and cook through on the stovetop |
When searing steak in cast iron then oven, the cast iron creates a strong crust while the oven finishes cooking evenly without burning.
🍽️ Step-by-Step: How to Pan Sear a Steak
- Bring to Room Temp: Let steak sit out 20–30 minutes.
- Season Simply: Salt just before cooking to avoid moisture loss.
- Preheat the Pan: Whether it’s cast iron or stainless, heat it until shimmering.
- Oil Lightly: A thin film prevents sticking and enhances crust formation.
- Sear Undisturbed: Don’t move the steak for the first 2–3 minutes—let the crust form naturally.
- Flip Once: Use tongs to turn. Baste with butter, garlic, and herbs if desired.
- Finish as Needed: Thick cuts? Move to the oven (400°F) until target doneness.
- Rest Before Cutting: Wait 5–10 minutes to lock in juices.
⚙️ Commercial Equipment That Elevates Searing
For restaurant kitchens, success depends not only on technique but also on tools.
- Commercial Ranges & Griddles: Offer precise heat control and surface consistency.
- Cast Iron & Stainless Fry Pans: Versatile for proteins, fish, and vegetables.
- Salamander Broilers: Perfect for finishing steaks after searing.
- Induction Cooktops: Deliver fast, energy-efficient searing for open-kitchen setups.
Each piece of commercial cookware contributes to consistency and speed—critical for kitchens handling dozens of orders an hour.
🧠 Pro Tips for Restaurant-Style Searing
- Heat, Don’t Rush: Always preheat pans properly before oil or protein touches the surface.
- Dry Protein = Better Browning: Moisture is the enemy of the Maillard reaction.
- Butter Finish: Add butter at the end—not the beginning—to avoid burning.
- Deglaze for Flavor: Those brown bits (fond) are the secret to incredible sauces.
- Resting Racks: Use cooling racks instead of plates to prevent soggy crusts.
🍷 Bringing It All Together
Perfecting how to sear a steak isn’t about luck—it’s about science and technique. The right pan, properly preheated, turns simple ingredients into signature dishes.
Whether you prefer searing steak in cast iron then oven for that classic crust or using a responsive stainless steel pan for delicate proteins, understanding the physics of heat makes all the difference.
For chefs and restaurateurs, the best results come from pairing skill with the right equipment. Explore CKitchen’s collection of commercial fry pans, ranges, and induction cooktops to bring precision, consistency, and flavor to every service.